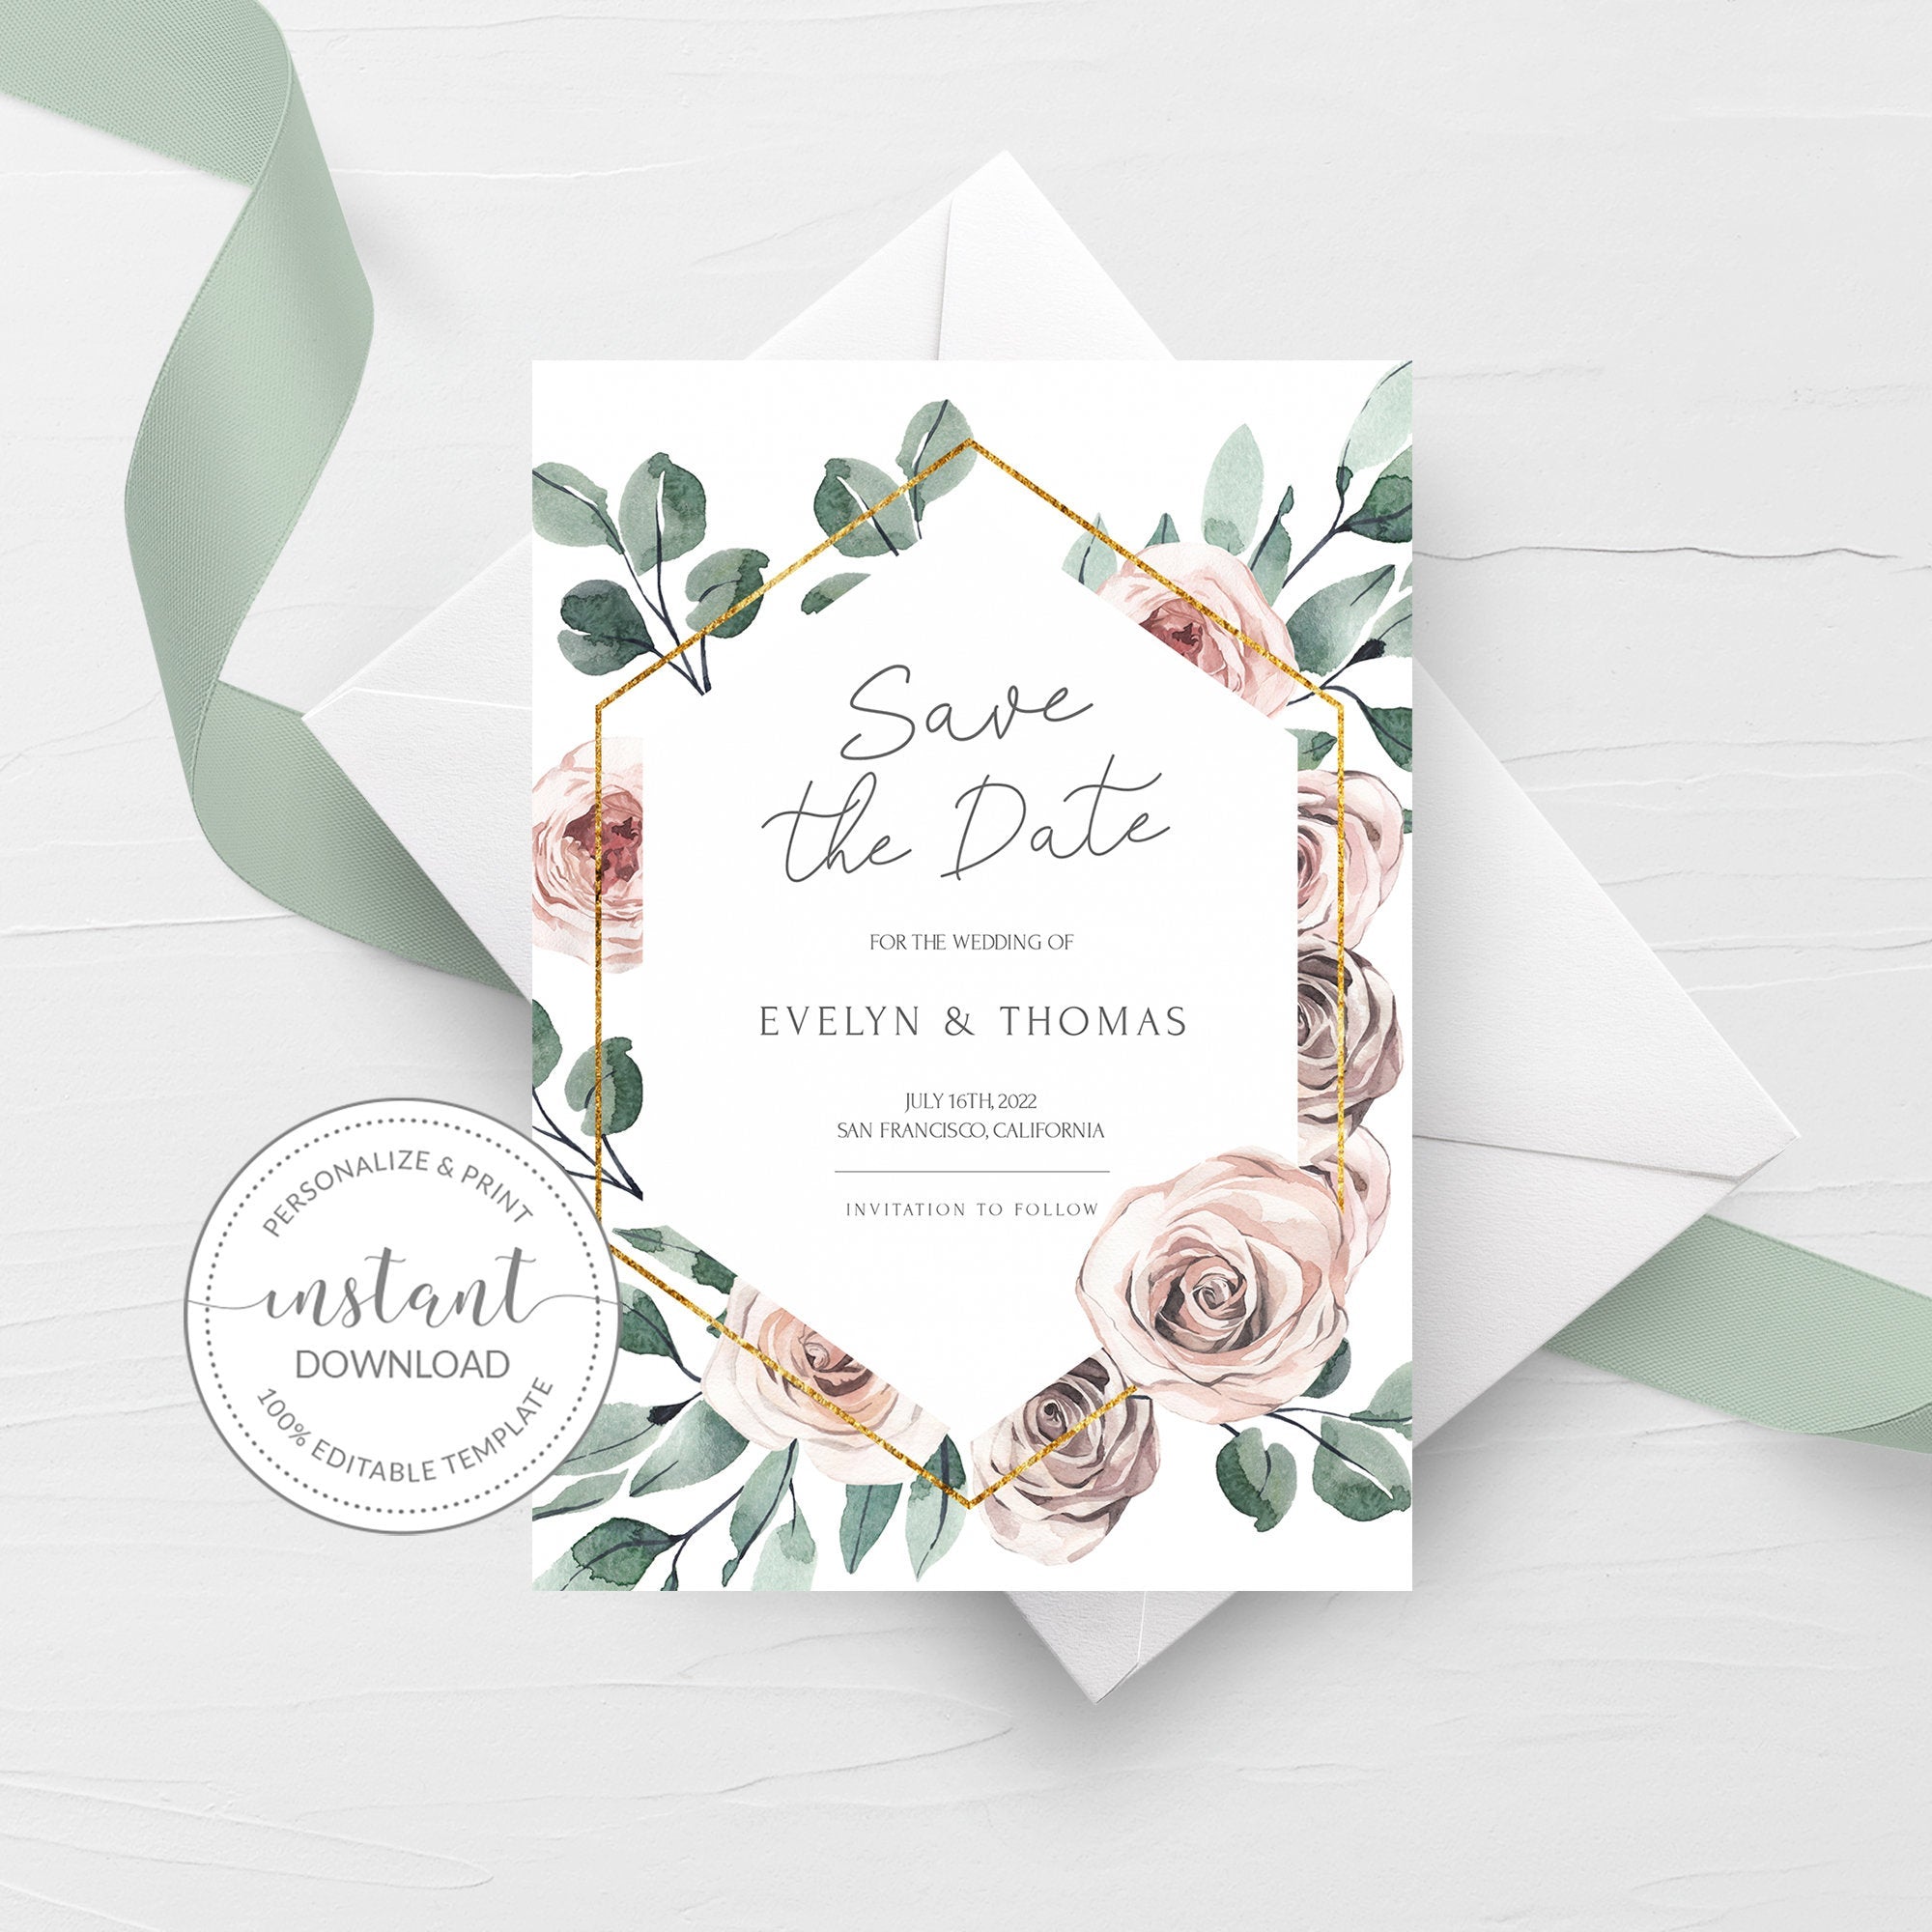
Save the date cards are a charming way to give your guests advance notice of your wedding and get them excited for your big day. While digital invitations are becoming increasingly popular, printed save the dates still hold a special place. They offer a tangible keepsake for your guests and create a lasting first impression of your wedding style.
This guide will cover everything you need to know about creating beautiful and effective printed save the date cards, from choosing the right design to selecting the perfect paper and sending them out.
Choosing the Right Design
The design of your save the date cards sets the tone for your wedding. Consider your overall wedding theme and choose a design that complements it.
Here are some popular design styles:

Classic and Elegant: Think timeless designs with elegant fonts, delicate calligraphy, or subtle embellishments like gold foil accents.
Pro Tip: Involve your partner in the design process. It’s a fun way to collaborate and ensures that you both love the final product.
Selecting the Perfect Paper
The quality of the paper you choose can significantly impact the overall look and feel of your save the dates.
Here are some popular paper choices:
Thick Cardstock: This is a classic choice that provides a sturdy and luxurious feel.
Pro Tip: Order a few samples of different papers to see and feel them in person before making your final decision.
Incorporating Personal Touches
Include a Handwritten Note: Add a personal touch by including a handwritten note to each guest.
Writing the Perfect Message
Keep your save the date message concise and to the point. Here’s a basic template:
[Your Names]
Invite you to celebrate our wedding
[Date of Wedding]
[Time of Wedding (if known)]
[Location of Wedding (City, State)]
[Website (optional)]
Pro Tip: Proofread your message carefully to ensure there are no errors.
Sending Out Your Save the Dates
Timing is Key: Aim to send out your save the dates 6-8 months before your wedding date, especially for destination weddings or weddings during peak season.
Finding the Right Printer
Online Printing Services: Many online printing services offer a wide range of paper options and design templates.
Pro Tip: Get quotes from multiple printers to compare prices and services.
Budgeting for Your Save the Dates
Set a Budget: Determine how much you’re willing to spend on your save the dates.
DIY Save the Dates
Get Creative: There are many DIY options available, from simple hand-lettered cards to more intricate designs.
Tips for a Successful Save the Date Campaign
Plan Ahead: Start planning your save the dates well in advance.
Conclusion
Printed save the date cards are a timeless and elegant way to announce your wedding to your guests. By following these tips and choosing the right design, paper, and message, you can create beautiful and memorable save the dates that will get your guests excited for your special day. Remember to have fun with the process and make it your own!